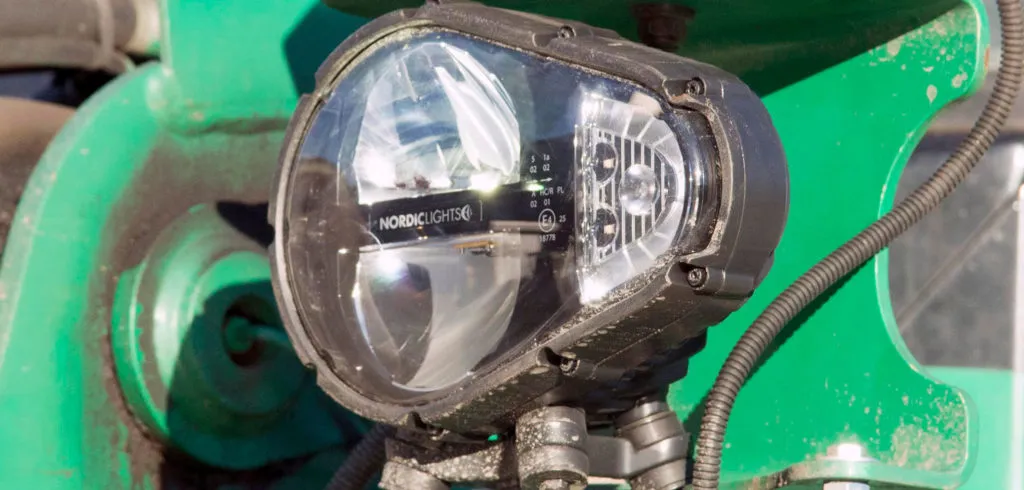
Industrial vehicle lighting manufacturer Nordic Lights is working with Nikon to avoid the expense of destructive testing and eliminate errors with advanced production processes.
Supplying heavy-duty lights to OEMs in the mining, construction, forestry and agricultural industry, the company is now using computed tomography (CT) methods that eliminate critical measurement errors caused by powder spraying.
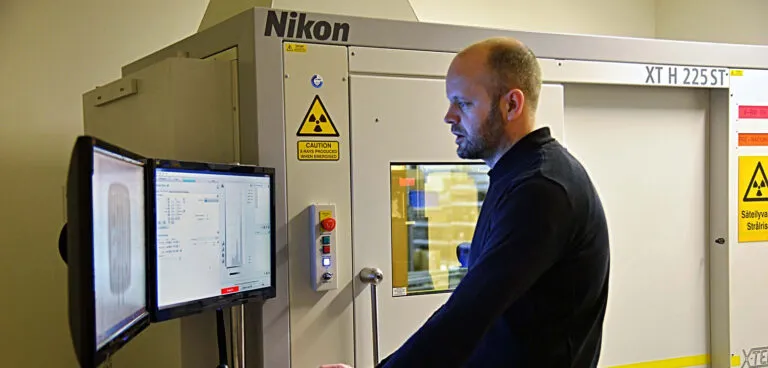
A Nikon CT machine, XT H 225 ST, with dual reflection and transmission targets has been installed at the Finnish company’s Pietarsaari base to inspect and approve components before assembly.
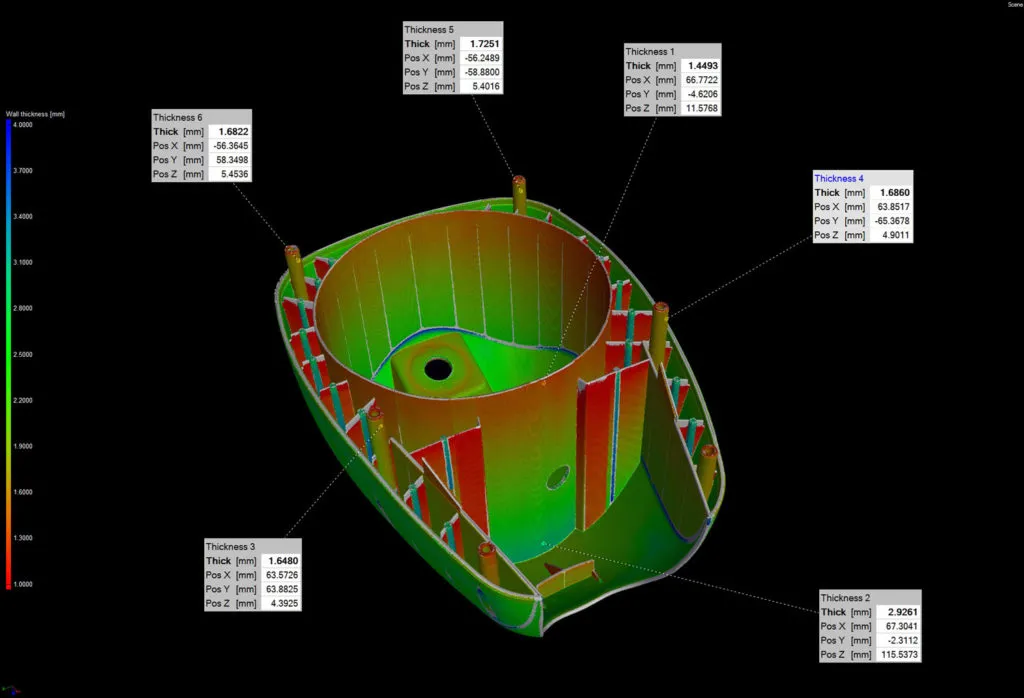
The primary purpose of the CT system is to validate samples from suppliers, new parts and modified parts from new molds. A secondary purpose is troubleshooting. During the test phase, if there are any failures, complete assemblies can be scanned to identify the cause without having to open or destroy the product.
The system has, for example, been used to search for air pockets or voids in the silicone glue between the aluminum housing and the lens of a light that has suffered water leakage. This would not have been possible with the previous white light system.
 Multiple benefits
Test engineer Carl-Anton Manns, who took part in the search for a new inspection system said, “The instrument needed to be able to analyze smooth reflective surfaces with high precision, which the XT H 225 ST does with repeatable accuracy. Being a non-destructive process was a big plus point as well.
“Verifying the tool that makes the prototype part at the beginning of a project avoids a lot of trouble later on. With Nikon CT, we can easily verify all dimensions and check for defects without having to destroy samples, which is important so they can be preserved for other inspection tests.
“There are also important savings in time and money by avoiding sample preparation such as painting or cutting.”
Nordic Light customers include industry leaders such as Caterpillar, Liebherr, Sandvik, Komatsu and Volvo.


